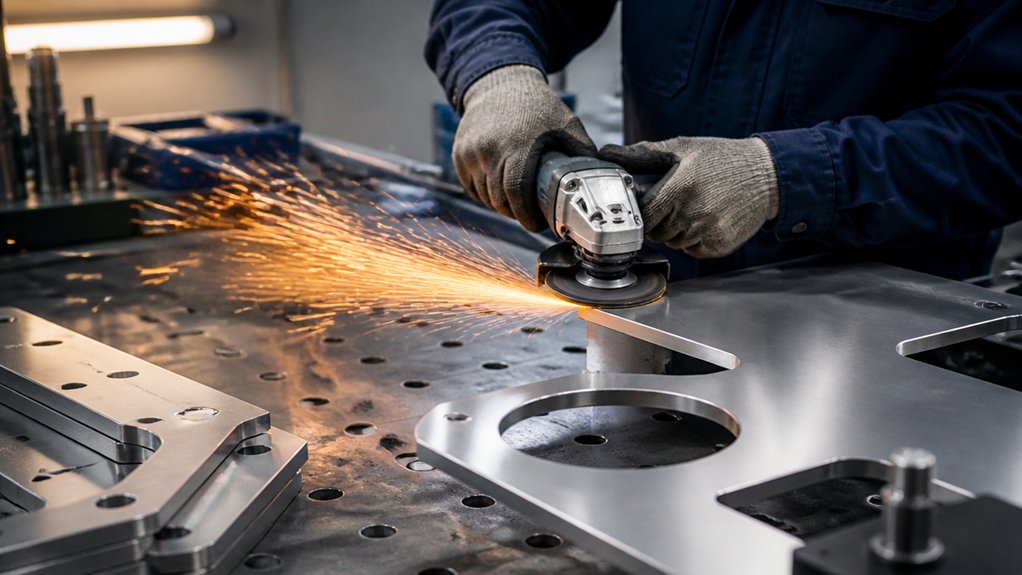
Remove burrs with a deburring tool or abrasive, then grind welds and surface defects only as far as the drawing and finish specification require. A burr is a sharp raised edge left by cutting or punching; removing it helps prevent handling injuries and interference with fit or coating.
For thin 5052 aluminum sheet, use light, controlled passes with an abrasive suited to aluminum. Heavy pressure can round edges, thin the material, or cause heat buildup. For stainless steel, use abrasives reserved for stainless to reduce the risk of iron contamination, which can cause rust staining. Secure the part without clamping it so tightly that it bends.
Grinding removes material to level a weld or correct a surface defect. Choose a disc or belt suited to the metal and the amount of material to remove, and check the surface often for gouges or changes to the part’s shape. The required finish depends on the part’s function, appearance, coating, and mating surfaces; specify those requirements on the drawing rather than relying on terms such as “smooth.”
After deburring and grinding, remove abrasive residue, oil, and other contaminants using a cleaning method compatible with the metal and the next process. Verify edge condition, dimensions, and surface finish against the drawing or applicable coating and assembly requirements.
Deburr Sheet Metal Edges Safely
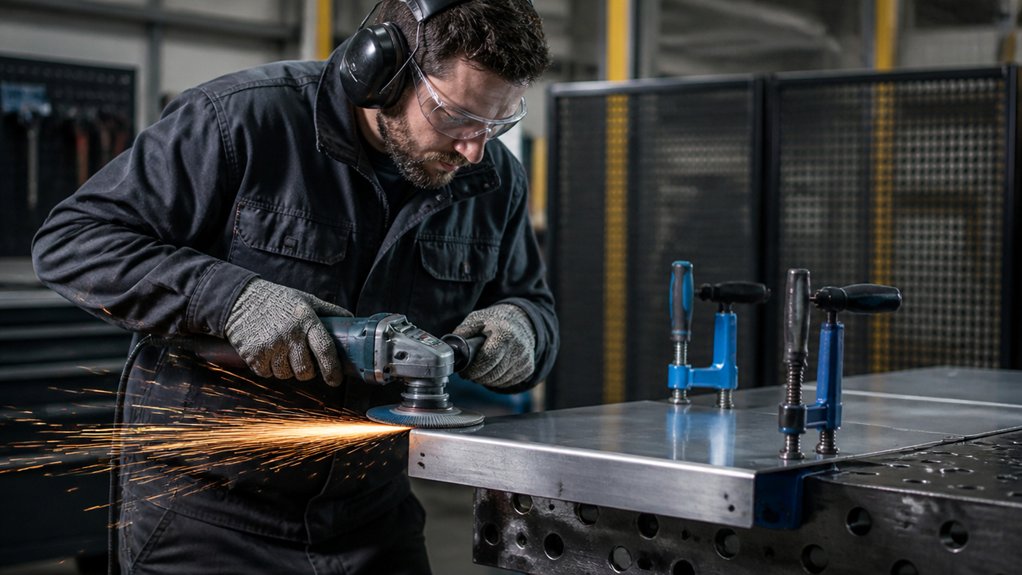
Remove burrs from sheet metal with a file, hand deburring tool, or abrasive pad suited to the alloy and edge condition. A burr is a sharp ridge or projection left by cutting. Secure the part on a stable bench or in a fixture so it can’t shift, and keep the edge accessible without putting hands in the tool path.
Wear safety glasses and glovessrated for cut protection. Gloves can catch on rotating equipment, so don’t wear them near powered tools unless the tool manufacturer’s instructions permit it. For manual deburring, use controlled strokes along the edge and avoid pressing hard enough to bend thin sheet. The suitable tool and amount of material to remove depend on the metal, sheet thickness, burr size, and whether the edge must fit against another part.
Check the full edge visually after setting the tool aside. Don’t run a bare finger along it; use a suitable inspection method, such as a cloth drawn lightly across the edge, while keeping hands clear of sharp projections. In a production brief, specify which edges need deburring and whether the requirement is to remove sharp projections, preserve a close-fitting edge, or prepare the surface for coating. Store finished parts with edge protection to reduce handling cuts.
Grind Welds and Surface Flaws Smooth
Grind welds with an abrasive suited to the metal, weld size, and required finish. For carbon steel, stainless steel, or aluminum sheet, secure the part and select a grinding disc or belt compatible with that alloy. Grit describes the abrasive particle size: coarse grit removes weld metal faster, while finer grit leaves a smoother surface. The right choice depends on the weld profile, sheet thickness, and finish specified on the drawing.
To bring a weld flush, remove the bead in controlled passes and check the surface often. Keep the tool moving with light, even pressure to limit gouging, heat buildup, and distortion. Remove only enough base metal to meet the drawing’s requirements; excess grinding can thin the sheet and weaken the part. For scratches, shallow pits, and tool marks, use a finer abrasive and follow the part’s contours to avoid uneven patches.
The fabrication brief should identify which welds must be ground flush and which may remain as welded. It should also state the required surface finish or visual acceptance criteria, since “smooth” alone is open to interpretation. Inspect the finished area under good lighting for remaining irregularities and signs of excessive material removal.
Prep Metal for Coating or Assembly
Before coating or assembly, remove grinding dust, oil, and other residue with a cleaner approved for the metal and the next process. Check the cleaner manufacturer’s compatibility guidance before using solvents, abrasive methods, or chemical conversion treatments, which change the metal surface to improve coating performance or corrosion resistance.
Specify deburring, the removal of sharp edges and burrs, while protecting features needed for fit. If weld grinding exposes bare steel or stainless steel, require the area to be cleaned and blended with the surrounding surface. The acceptable blend depends on the coating system and the part’s appearance or fit requirements.
Set the sanding grit, or abrasive particle size, to suit the coating manufacturer’s surface-preparation instructions or the required mating contact. Coarse scratches can show through thin coatings; overly smooth surfaces may reduce adhesion if the coating system requires a rougher profile. Keep prepared parts dry, and require clean gloves or other handling controls to limit oil transfer and contamination.
Check the surface under consistent lighting for residue, burrs, and uneven abrasion. Define acceptance criteria around the specified coating or assembly requirements, then protect prepared parts from damage and contamination during storage and transfer.
Select a Finish and Inspect Your Work
Choose a finish based on the metal, service environment, appearance, and assembly requirements. Powder coating or liquid paint can add color and a protective barrier to steel or aluminum, but the coating must suit the part’s exposure to moisture, chemicals, heat, and abrasion. Zinc plating can protect steel from corrosion; other plating choices depend on the required wear resistance, appearance, and substrate. Polishing removes surface material to create a smoother or more reflective finish. It can round edges, change dimensions, or reveal defects, so specify which surfaces may be polished and which dimensions must remain unchanged.
Tell the fabricator the material and grade, the finish process, the required appearance, and any surfaces that must remain uncoated. Also state whether the finish may affect fit, electrical grounding, or bonding, which joins parts to create an electrical connection. The right process depends on the part’s function and operating environment.
Inspect finished parts against the drawing and finish requirements. Check for even coverage, color, gloss, and texture, and look closely at edges, holes, bends, and welds for bare spots, runs, pits, or residue. Measure critical features and compare them with the drawing’s tolerances, the permitted variation in a dimension. Record results, separate parts that fail inspection, and resolve defects before accepting the order.
Frequently Asked Questions
Which Deburring Tools Are Best for Different Sheet Metal Thicknesses?
For thin sheet metal, use a hand deburring tool or a fine abrasive pad; for thicker plate or high-volume work, consider a powered abrasive belt, brush, or deburring machine. The right choice depends on the metal, edge condition, part geometry, finish requirements, and production volume—not thickness alone.
A hand tool can remove a light burr from stainless steel or aluminum without taking much material off. A burr is a raised edge left by cutting or punching. Powered abrasives suit heavier burrs, but can round edges or alter dimensions if the process is too aggressive. For laser-cut mild steel, for example, confirm whether the edge needs only loose slag removed or a consistent radius and finish.
When briefing a supplier, specify the material and grade, thickness in inches (millimetres), cutting process, edges to be treated, and acceptable edge condition. State whether parts must remain free of scratches, distortion, or sharp edges, and identify any mating surfaces that must not be altered. For repeat production, ask how the supplier will control consistency and inspect the finished edges.
Manual finishing may suit prototypes and small batches. Automated equipment can improve repeatability on larger runs, but its suitability depends on part size, shape, and required finish. Also confirm how the process will manage metal dust and protect workers.
How Do I Choose Between Manual and Automated Finishing Equipment?
Choose manual finishing for varied, low-volume work that needs frequent changes; choose automated finishing for repeatable parts, steady production, or large batches. The right choice depends on the metal, finish specification, part geometry, batch size, and how often the process changes.
Manual grinding, deburring, or polishing can suit one-off parts and short runs because operators can adjust their approach as they work. It may be harder to keep the finish consistent across many parts, especially when the specification sets limits for surface roughness, edge condition, or material removal. State the required finish and identify areas that must not be altered in the drawing or work order.
Automated equipment can improve repeatability for recurring parts, but it needs suitable tooling, setup, and part handling. A vibratory finishing machine, for example, uses a tub or bowl of media—abrasive pieces that rub against parts—to deburr or smooth batches. It may not suit parts with delicate features or surfaces that must remain untouched.
Compare labor, setup and changeover time, throughput, maintenance, and inspection needs. The decision also depends on whether the part’s material and shape tolerate the process without distortion, scratches, or loss of critical dimensions. Define how finished parts will be checked before selecting equipment.
What Safety Gear Is Essential for Sheet Metal Finishing?
Essential gear for sheet metal finishing includes cut-resistant gloves, safety glasses or a face shield, hearing protection, and a respirator when the process creates airborne dust or fumes. The right selection depends on the finishing method, metal, coatings, and exposure controls in place.
For deburring or grinding carbon steel and stainless steel, gloves should resist cuts without creating an entanglement risk near rotating equipment. Safety glasses protect against flying particles; a face shield adds coverage but does not replace glasses. Use hearing protection when noise exposure requires it under OSHA’s occupational noise standard.
Sanding, grinding, and polishing can release metal particles, while coating removal may produce hazardous dust or vapors. A respirator is personal protective equipment (PPE) that filters particles or gases; its type must match the identified hazard and be selected under OSHA’s respiratory protection standard. Local exhaust ventilation, which captures contaminants near their source, may reduce exposure but does not automatically eliminate the need for PPE.
Before work, check machine guards, lockout/tagout procedures for servicing equipment, and the safety data sheet for any finishing chemical. Inspect PPE for damage and confirm that it fits and is compatible with other gear.
How Can I Reduce Dust and Noise During Grinding?
Reduce grinding dust with a tool-mounted extraction hood connected to a high-efficiency particulate air (HEPA) vacuum, and use wet grinding only when the tool, workpiece, and process allow it. Extraction captures dust at the source; wet methods can suppress airborne particles but may introduce moisture or contaminate the workpiece.
For carbon steel, stainless steel, and aluminum, confirm that the extraction system and filters are suitable for the dust being collected. Fine metal dust can create fire or explosion hazards, and dust from different metals may require separate collection. Ask the fabricator to describe the dust-control method and how collected dust is handled.
Reduce noise by keeping grinding wheels sharp, correctly mounted, and balanced, and by isolating vibrating equipment from nearby structures. Enclosures can limit noise, but they must not block ventilation or access needed for safe operation. Hearing protection should match the measured noise exposure and the work area; a noise assessment can determine the required protection. When reviewing a production plan, check that dust extraction, housekeeping, and hearing protection are addressed for the specific grinding process and material.
When Should I Outsource Sheet Metal Finishing to a Specialist?
Outsource sheet metal finishing when production demand exceeds in-house capacity, finish quality varies, or the equipment and process controls required for the job are not justified by expected workload. The right choice depends on the finish, base material, part dimensions, volume, and delivery schedule.
For example, powder coating applies a dry coating that is cured with heat; it may suit steel or aluminum parts, but the coater must confirm that the alloy, part geometry, and any heat-sensitive components are compatible with its process. Anodizing forms a protective oxide layer on aluminum, so it is not an equivalent option for steel parts. Specify the required appearance, corrosion resistance, masked areas, and acceptable variation in color or texture.
Before placing an order, check the specialist’s relevant certifications, documented process controls, inspection methods, and ability to meet the drawing’s tolerances. A tolerance is the permitted variation from a specified dimension. Confirm how parts will be identified and tracked, how defects will be reported, and whether the quoted lead time includes pretreatment, finishing, inspection, and transport. Cost depends on factors such as part size, coating or treatment, surface preparation, batch size, masking, and inspection requirements.